
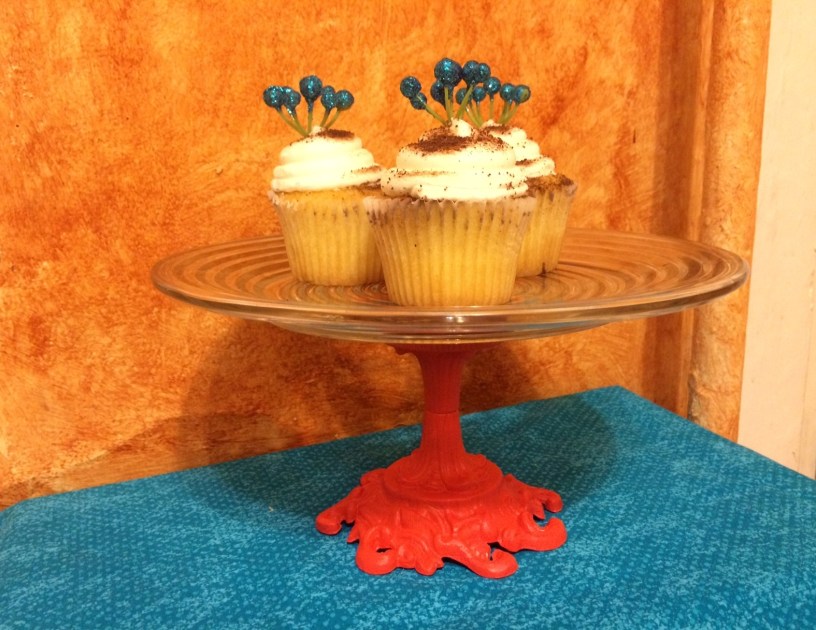
This is a quick and simple project, and a great way to create a unique pedestal cakestand that will (ahem) “elevate” your wedding (or holiday) pies, cakes, or cookies!


A few weeks ago in “Perfectly Imperfect,” I shared some of the thrift store finds I’m re-habbing to use as part of our wedding decor. First up, turning mystery object #7 and plate #2 into a cakestand with character. For those of you (still) wondering: mystery object #7 is a vintage toothbrush holder! It was obviously in need of a coat of paint, so I selected Valspar Signature, satin finish, in “Trolley” to coordinate with our wedding colors. (Note: A lot of hardware and home stores now mix and sell half-pint sample sizes, which makes it easy to purchase just the right color for a small project.)
Supplies
- A cakestand base. I got lucky finding the toothbrush holder, though its ragged state required the extra step of painting. You can also use a variety of different kinds of glassware: candlesticks (provided they aren’t too tall—see below for an example), inverted votive holders, sherbert glasses, etc. The top of your chosen base, in most cases, should be smooth and have enough surface area to attach securely to the plate once glued together.
- A coordinating glass, china, or ceramic plate for a topper. Miraculously, the grooves in the back of plate #2 seat perfectly on the rim of the vintage toothbrush holder; they seemed to be made for each other! In most cases, you’ll want a smooth-backed plate to ensure solid contact with the base.
- Quality glue for glass/ceramic/metal that dries clear. Thus far I’ve been very satisfied with the GO2 Glue by

This plate has grooves that fit the base’s lip
Loctite pictured above.
- Paint, if desired. Make sure to select a formula that will adhere to the materials your base and/or topper are made of. If you’re painting, of course, you’ll also need brushes.

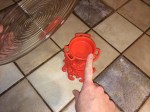
Painting the base
The paint, in this case, really transformed the base! I scrubbed the toothbrush holder well to remove grime and loose paint. Per my chosen paint’s instructions, I gave the toothbrush holder one coat, let it dry overnight, then applied a second. A foam brush came in handy for thoroughly coating all the crevices and swirls.


Gluing the base and topper together.
Line the lip of the base (or the entire surface, if it’s broad and flat) with glue, being careful not to apply so much that it “bleeds” excessively. The fact that the grooves in my selected plate lined up perfectly with the lip of the toothbrush holder made for easy gluing without slippage. For flat surfaces, make sure the plate doesn’t slip off-center after placement.


Weighting and waiting…
I recommend weighting the plate (a mug filled with water or a bottle of olive oil works just fine) until the glue has set (time varies–for GO2 Glue, 30 minutes). For extra assurance, weight the plate until the glue has cured, about 24 hours.
And, repeat!
Since we’ll have a variety of cupcakes, we’re going to need multiple display stands and platters for them. Following the same process, I made another stand with vintage finds #1 and #6, the milk-glass candleholder and daisy plate.


The light yellow center of the flower plate doesn’t quite work with our color scheme, so I covered it with a circle cut from scrapbook paper that picked up the coral. Besides, it’s going to be covered with cupcakes, anyway!

More cupcakes on display!
So, hit your local thrift store and surprise your holiday guests with a festive treat displayed on a one-of-a-kind cakestand. Three cheers for upcycled decor!
Thanks to Steve for helping document the assembly process!
Cupcakes, anyone?

One thought on “DIY Decor: Vintage Finds Cakestand”