Behind the Scenes, I: Details, Details

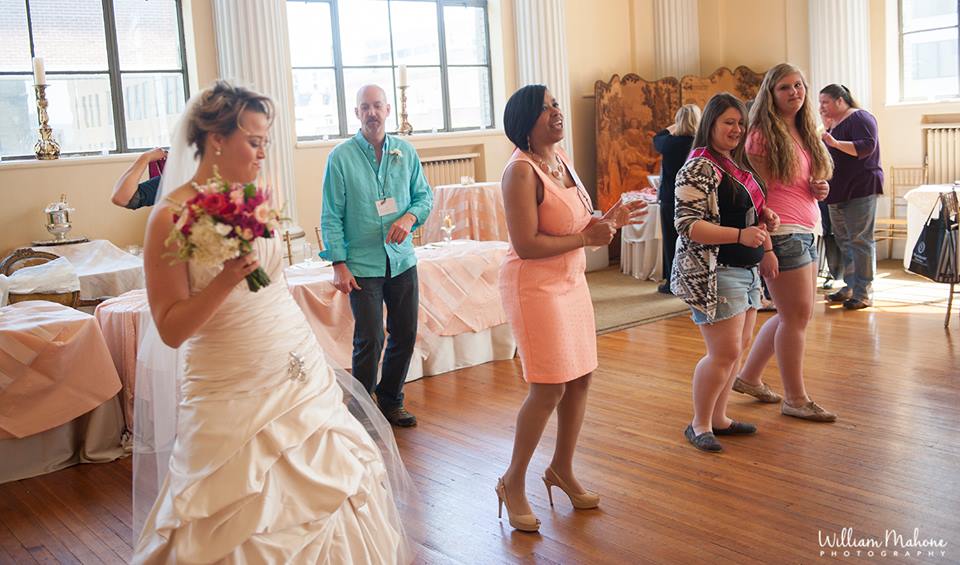
We have access to all our wedding pictures now, and we’ve enjoyed re-living some of our favorite moments of the evening through them. It’s been equally fun to experience vicariously some of the moments we weren’t privy to at the time: our guests interacting as they waited for the ceremony to begin, my brother escorting my mom down the aisle, some awesome photo bombs during the cake-cutting. As I scrolled through the photos, it occurred to me there were a number of small details that were meaningful to us, objects or choices with stories whose history or deeper significance wasn’t immediately apparent. So, here’s a behind-the-scenes tour of some of those details that helped us put our special stamp on the day.

Person

NJM_9465 lg
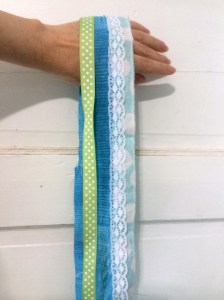
My train and the gold-tone brooch pinned at its apex: The train I wore, which attached to my dress at the waist, was made from the train of my mother’s wedding dress, a Watteau-style that fell from her shoulders like a cape. The lovely Terrisa Vaughan of Her Perfect Day refashioned it for me after my mom cut some of the lace to make the ring pillow, which also included fabric from her dress and my grandmother’s wedding dress (read the story of the ring pillow here). The gold brooch at its apex had been worn by my maternal great-grandmother, my grandmother, and my mother at their weddings. The legacy piece served as my “something old.” I also wore my paternal grandmother’s wedding ring on my right hand.

I wore two bracelets with special significance: the first was a vintage pearl and silver marcasite piece Steve and I bought in a shop on Portobello Road during our trip to England last Christmas. I was drawn to it because my mother also wore a silver and pearl bracelet, a gift from my father, at her wedding. I also had a sterling and aqua chalcedony bracelet made by my friend Janna of A Little Twisted, which represented the love of my girlfriends. Both were also “something new.”

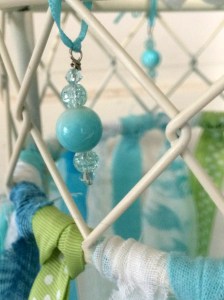
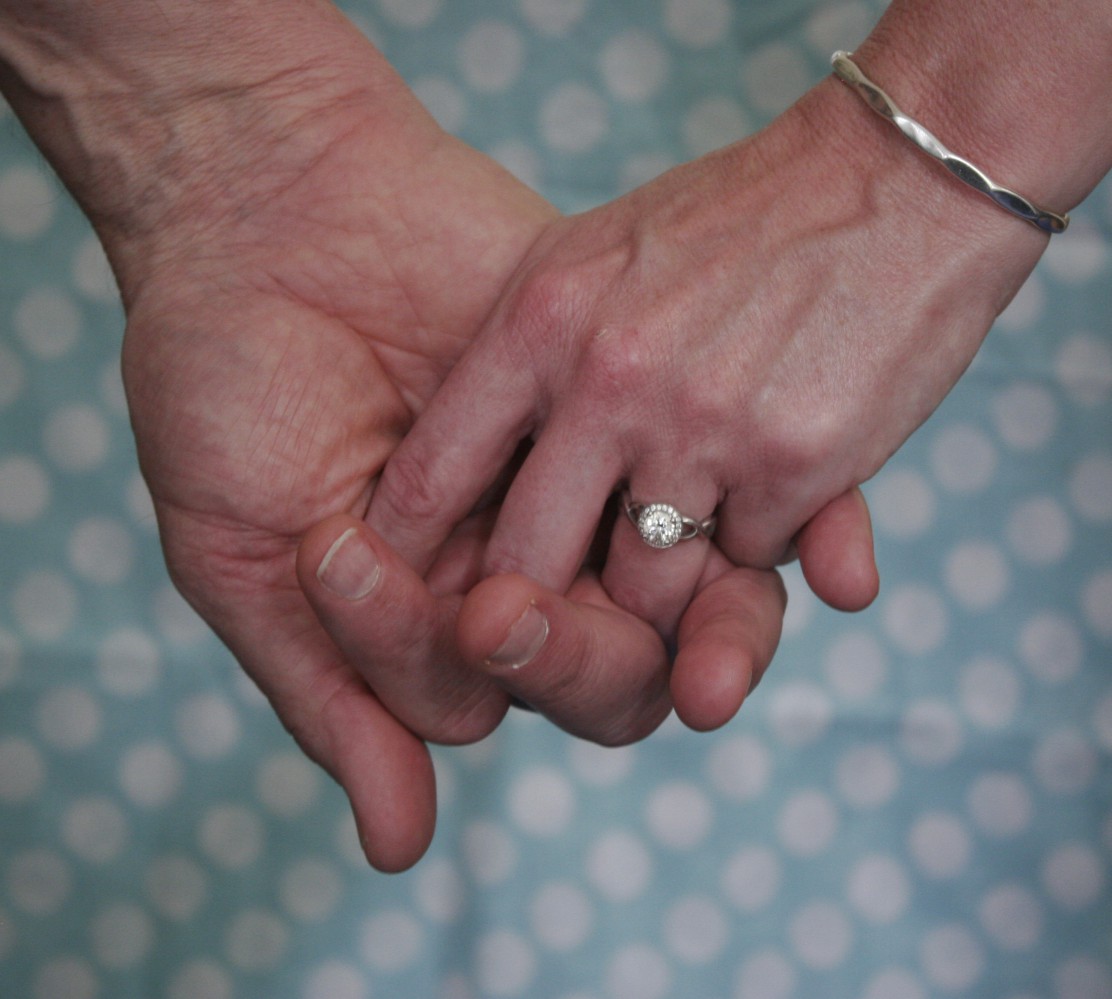
Steve and I wore the gifts we’d given each other: His was a silver cuff engraved with the latitude and longitude of the Rooftop; the inside sports the date and the phrase “here beside you.” He gifted me with a delicate anklet of bright blue butterflies, an homage to the Butterfly Garden that was part of our celebration. It was also “something blue.” My “something borrowed” was a beaded coral bracelet my friend Sarah had brought back from a trip to Nepal, and it was tied around my bouquet. I did in fact have a real “sixpence in my shoe” (taped with washi tape), courtesy of my now-stepson Dusty, who’d procured it during his study-abroad at Oxford.

The men in the wedding party wore bright polka-dot socks mostly because I thought it would be fun (and I love bright colors and polka dots!). We gave my nephew a pair of “Hobbit socks” with toes because Steve kept joking it would be “so cool” to have Ethan dress as Frodo, since he was “The Ringbearer.” In homage to the groom’s family heritage, specifically Steve’s maternal grandmother, his sons each wore the McIntosh plaid, Dusty in the form of a kilt and Tucker in his tie.

Place

NJM_3080 lgThe venue itself has some backstory. My mom gifted us with a cocktail hour held in the Science Museum’s Butterfly Garden because it was as close as she could get to the courtyard wedding we’d dreamed about together when I was a girl. And Steve and I chose the Rooftop because of our own history with it—we danced together the first time at the Center in the Square’s grand-reopening, so it was fitting we share our first dance as husband and wife there, as well.

Thing

Some of the decorations also had stories. The vintage-map-paper flowers that were scattered around the tables were crafted in honor of Steve’s love of and longtime work with mapping and GIS software. (Our invitations, which also featured a map theme, focused on Virginia, since that’s where we met and fell in love—and, well, Virginia is for lovers, right?)

Next to our guest book, we placed a painted tin that featured an olive shell on top, which hearkened back to the first time I’d told Steve I loved him (“Olive you”) during a beach trip, as well as the fact he later proposed to me on another beach.

I wrote back in December about wedding favors and noted we had chosen something useful and personally meaningful: jars of wildflower honey bottled by my father, Garry, a beekeeper.

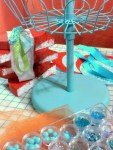
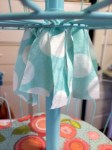
The milk-glass cakestand that displayed our wedding cake I inherited from my grandmother. Instead of a caketopper, I painted two wooden S’s that stood in front of it. Steve’s was green and decorated with a forest of tiny trees (he is a forester), stripes, and a bow-tie made from map-printed fabric. Two miniature books represented his sons, and a clay figure I’d sculpted of his dog Imoh sat in the curve. My S was aqua, for sky and water, and featured polka dots and a tulle bow, along with a small collection of seashells. A miniature journal, open, represented writing, and two cat sculptures, black kitty Lola, and tabby Charlie Kate, completed it. I kept the S’s a surprise for Steve, so he did not see them until just before the ceremony.

Sing

The lyrics and history of the songs were important too. I selected Ronan Keating’s version of “I Hope You Dance” for the father-daughter dance, because the lyrics echo the advice my father always gave me. Steve and I danced to John Denver’s “Annie’s Song” for our first dance because the nature imagery touches on all the beautiful places we’ve been together–forest, mountains, ocean–and loved. Our last dance song, to Norah Jones’ “Come Away With Me,” hearkened back to a night we turned on an iPod and danced in the woods.

And I still don’t know whether anybody caught it and got the joke or not, but I enjoyed the moment immensely: our recessional song was “I Do” by Colbie Caillat, but it was immediately followed by “Finally” by CeCe Peniston: “Finally! It’s happening to me!”

Finally! Sings the forty-something first-time-bride, with a wink and a grin.


Next week: more behind-the-scenes stories about a few things we didn’t expect….


All photos by Noah Magnifico

DIY Decor: Spinning Flower Cupcake Tower

wirestandfp5A while back I found this curious object at the consignment store.  I thought it was some kind of office equipment, since it had several clips attached to it, and the three baskets spun around. The baskets looked like flowers with big petals to me, and I thought with some upcycling love it would make a cute cupcake tower for the wedding.

A little research revealed that the object was, in fact, a shoe rack in its previous life. Inspiration comes from curious places sometimes! I set about rehabbing it with a new paint job first.

I disassembled the rack, then sanded the old paint off with steel wool—whoever had painted it the first time hadn’t primed the metal, so the paint came off easily. After priming with an anti-rust primer by Rust-oleum, I spray painted all parts with a Krylon paint in “Ocean Breeze” that adhered to both metal and plastic, since the basket supports were plastic.

Because the baskets were a little deep for cupcakes—I had visions of wedding guests reaching in and accidentally poking fingers in the frosting—they needed a boost, a shelf for the desserts to sit on. I purchased four 8 x 1-inch styro-foam rounds from the floral department at Michaels (four so I could use the first one as a test, which was helpful). I determined the center of each round and using a set of foam carving tools, cut each in half, then carved out a center hollow for the rack’s center pole.

After cutting, I painted each of the rounds I planned to use. I’d hoped, at first, that the paint would smooth the surface, but the styro-foam texture showed through. I looked for some pretty papers to cover the rounds, selecting a handmade blue paper with a silver filigree design for the undersides. It was a greater challenge to find something for the tops. Initially, I went with a solid deep coral.

Then, I gathered other supplies for inspiration: beads, trims, ribbons, tulle. To cover the awkwardly-shaped clips anchoring the baskets, I wove strips of orange tulle through the small inner rings of the top and bottom baskets, and strips of cotton polka dot fabric through the middle basket’s inner ring.

After layering the blue-and-silver paper under each round, I then glued the two halves of each together with hot glue. The first coral paper didn’t work, so I searched my stash and came up with two other papers to use for the tops of the rounds: the flower print is from Heidi Grace Designs’ “Cartwheel” collection, the coral print from Michaels’ “Recollections” line, in “Orange Floral.”  Then I wrapped each round with one of two different orange polka dot ribbons (by Offray) and hot glued the ribbons in place.

Then it was time for the finishing touches. I added some tulle and ribbon to the top handle, and dressed up the base with more tulle and turquoise daisy trim. 

And, of course, no cupcake tower would be complete without cupcakes!

Ready for prime time!

Ready for prime time!


For more DIY tips, check out my latest Real Bride Blogger post on bridebook:

“On Pins & Needles (& Ribbon & Glue…): Advice for DIY Brides.”

Image

DIY Decor: Easy Aisle Markers

I’ve been DIYing up a storm of late, working on a variety of wedding projects. One project has been aisle markers and ceremony markers. We’ve opted not to have a wedding arch, as we want the mountains in the background to frame our ceremony. But we still wanted something to define both the start of aisle, where guests will enter to take seats, as well as the ceremony space.

Traditional white columns were too formal, so I kept my eyes open for other options. Ultimately, I chose two sets of metal plant stands and set about transforming them into something with a bit more color and whimsy.

Step 1: Prime and paint plant stands

I selected two brown plant stands for the aisle markers. The flower shape on top echoes a daisy. I also liked the second ring just a few inches from the top, as I had plans for it.

I had Rust-oleum Clean Metal Primer on hand from another project, so I started with it and got a solid base coat on. Then I painted the stands with Rust-oleum Painters Touch Ultra Cover (which also has a primer) in Heirloom White, satin finish.

Step 2: Gather fabric and beading tools and supplies

I gathered the rest of my supplies: ribbon in different textures and colors, lace, and several fabrics to cut into strips, along with beads, head pins, and basic jewelry making tools—round-nose and chain-nose pliers, as well as wire-cutters.

Step 3: Assemble bead dangles

I assembled the six bead dangles first. The design of the plant stand would allow up to nine on each stand, but I opted for the simpler (and less time consuming) three. If I have time to add more as we get closer to the wedding, I can.

These bead dangles each required one silver-toned headpin, one ceramic aqua bead, two small round aqua “bubble-glass” beads, and two aqua 3-4 mm bicone crystals. Any combination of beads that pleases will work.

After threading beads onto the head pin, create a wire loop using the round-nosed pliers, wrap the tail of the wire, and trim. I tied the dangles onto the plant stand with narrow aqua ribbon. They could also be attached with wire.

Note: Michaels and other craft stores stock a lot of pre-made pendants and dangles these days, so you can probably purchase something you like if you’d rather not make it, or don’t have the tools.

Step 4: Cut fabric strips, ribbon, and lace to desired length. Thread onto the plant stand in a repeating pattern.

This is what gives the plant stands a column-like effect. Cut each ribbon or strip of fabric twice the length you want it to hang, plus about 1 1/2 inches. I kept the width to about 1-inch, with a little variation. Fold in half, pull the folded loop over the second ring, thread the two ends through the loop, and pull it snug. Putting the loop to the outside looks a little more formal, like a man’s necktie; I preferred it to the inside.

I like the wispiness of the loose ties, but if you wanted an even more structured look, you could wrap or tie the ribbons around the bottom ring so that they were taut and stayed in place.

Step 5: Place alongside the aisle and enjoy!

I added a little lace to the top, too, though I’m still debating whether I like it.  These two whimsical “columns” will greet our guests as they take their seats. The finished ceremony markers I’m keeping a surprise. 🙂

finished_aisle_markers

All beading supplies and Celebrate 360 ribbons available at Michaels. All lace and fabrics except dupioni silk and velveteen from JoAnn Fabric and Crafts; silk and velveteen from local antique store and my stash, respectively. Primer and paint available at Lowe’s. Featured plant stands purchased at Tuesday Morning.

Image

Wedding Crawl 2015

When Steve told one of our friends we were spending Sunday afternoon at a Wedding Crawl, she replied that it sounded like what you did to get to the ceremony after you had a little too much fun at the rehearsal dinner the night before. There was plenty of fun at this year’s Crawl, and the temptations were many (red velvet cake pops!), but the biggest danger of overindulgence was in great wedding ideas.

This was the third year for the now annual Wedding Crawl, a festive event put on by teams of local wedding professionals in the Roanoke Wedding Network. Each team collaborates to create a mock wedding and reception at one of five prime downtown wedding locations. The venues featured were the Corinthian Ballroom, the Patrick Henry Hotel, Charter Hall in the Market Building, the Taubman Museum of Art, and (our personal favorite) the Center in the Square Rooftop. Each “wedding” showcased a ceremony and reception set-up complete with decorations, flowers, a planner, a caterer, a photographer, a photo booth, a DJ, a bakery and cake, and a bride, along with other vendors such as officiants, hair and makeup salons, lighting designers, and videographers. I was really impressed at the commitment and creativity of all of the teams, who clearly put in a lot of time and energy to make the event a success.

Photo credit William Mahone Photography

Photo, William Mahone Photography

After signing in at the Roanoke City Market, where I was given a “bride-to-be” sash and pinned a “fiancé” boutonniere on Steve, we were directed to start at the Corinthian Ballroom, an elegant space with great natural light. It was there we sampled the aforementioned cake pops, courtesy of Delish! Sweets and Treats, and goofed around in SwellBooth‘s vintage-look photo booth. Upstairs we indulged in Chanticleer Catering‘s yummy victuals, and I convinced Steve to do the Wobble, which William Mahone Photography captured on camera. (I’m behind the bride.)

Have I ever mentioned just what an incredibly good sport Steve is? Continue reading

Image

DIY Decor: Fabric Flowers

My mother and I are working away on the pillows for the venue benches, and I was thrilled when we recently discovered Clover’s Kanzashi Flower Maker tools for crafting fabric flowers. We found our templates at Tuesday Morning, but my mom has also seen them at her local quilt shop. They’re really easy to use: if you can count and manage a basic needle and thread, you can create beautiful fabric flowers!

There are a variety of different kinds of flowers, and most of the templates come in sizes ranging from extra-small to large. The flowers featured here were made with the small and large “Round Petal” templates, the large “Daisy” template, and the small and large “Gathered Petal” template.

kanzashi flowers 1

Clover’s Kanzashi Flower templates

Each template comes with detailed, illustrated, and easy to follow instructions, so I’ll just note the basic process and highlight a few tips based on my work with the templates so far.

For all of the templates, the process is the same: cut your fabric into small squares (one per petal), fold the fabric into the template, then stitch the petal following the numbered template guide. The photos show a large “Gathered Petal” flower in process in a sheer white voile.

After removing the template,  pull the thread to create the petal and shape it, and then repeat with the next square of fabric. The softer the fabric, the more organic the shape.

The number of petals needed to complete a flower varies with the type of flower and template. Once you’ve completed all the petals, stitch the last petal to the first. The center will typically need to be stitched close or be covered with a button or another embellishment. Flowers of different sizes can be layered as well.

Embeliished with a bead!

Embellished with a bead!

I’ve also made a large “Daisy” in bright orange taffeta, and large and small “Round Petal” flowers in a pale aqua cotton with large white polka dots.

A few tips:

  • The back of the flower is often as pretty (or prettier) than the designated front. This was true of the orange taffeta Daisy!
  • The dimensions for the fabric squares included in the instructions are, I’ve found, always larger than needed, which results in waste. Cut one square and see how it works for you. I shaved a 1/4 to 1/2 an inch off in most cases.
  • Softer fabrics result in more organic-looking flowers, but those with a little more body are easier to shape (and hold the shape better).
  • Scissors with narrow blades like those shown above make it easier to trim close to the template.
  • Sew on pin backs to the flowers to make them easy to remove for laundering, or to re-purpose.

I’m using the flowers to embellish pillows, but they could also adorn a bag,  hat, or belt, or be worn as a brooch.

Enjoy!


You might also like to see DIY Decor: Pieced Pillow Covers for info on how we’re designing and piecing our pillows, or DIY Decor: Pillows in Progress, or Making  a Beautiful Mess for more thoughts on crafting and love.


Image

How to Speak Flower

The language of flowers, known as floriography, has been spoken for centuries: Shakespeare made use of it in numerous of his plays, as did Jane Austen in her novels. The practice of sending “secret” messages through flowers became extremely fashionable in Victorian times, when it was considered gauche and inappropriate to speak openly about one’s affections. It’s hard to imagine that the messages contained in these “tussie-mussies” (small bouquets wrapped in lace and tied with ribbon) remained secret, given the wide popularity of flower dictionaries that helped senders and receivers compose and translate. Many of the meanings we associate with particular flowers today descend from these Victorian-era dictionaries, some of which, like Kate Greenaway’s 1884 The Language of Flowers, remain in print.

Not all guides offer the same translations, though there’s some agreement. Roses have long been associated with love, but other flowers also indicate romantic affection. Tulips express love, although the giver needs to choose the color carefully: red tulips say perfect love and commitment, while yellow tulips have traditionally signaled hopeless love. For the true romantic, Greenaway’s flower dictionary notes that variegated tulips tell the recipient she (or he) is possessed of “beautiful eyes.” Daffodils convey regard or, even more pleasantly, “the sun shines when I am with you.” Ivy is associated with fidelity and marriage, while peonies suggest early love and bashfulness. Orchids indicate rare beauty. And for all the sapiosexuals out there, pansies are for “thoughts” and clematis indicates “mental beauty.”

February is the month for flower-speak, which piqued my curiosity: what stories might some of the flowers we’ve selected for the wedding tell? Continue reading