from A Slip Shop

A Shoes of Prey design by me

World map fabric by Jade Gordon at Spoonflower
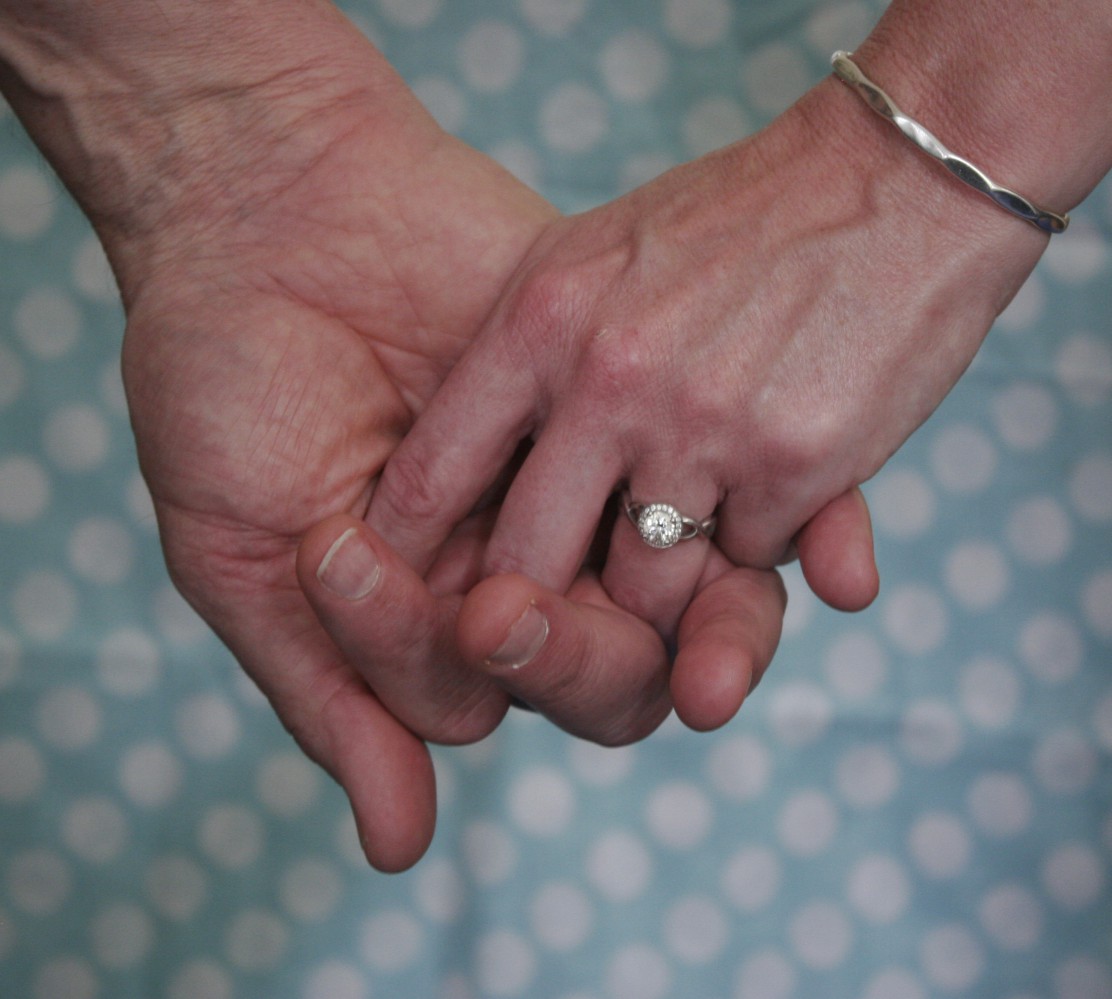
This has been one of those weeks when almost nothing has gone according to plan. First, I unexpectedly lost access to my computer on Tuesday, precipitating a change in blog post as well as technology. I’d anticipated a one-hour finishing-touches session on the laptop and instead spent a good five hours fighting with a cranky iPad. (Apologies for the late post!) Then our Wednesday afternoon engagement photo shoot got interrupted by a massive thunderstorm. Thankfully we’d headed for cover after the first flash, because within a few minutes lightning struck several trees in the park where we’d just been playing on the slide, and within a few more, the bottom dropped out of the sky.

That’s what it sounded like…
weatherstock.com
On Thursday morning I was getting ready to head to an appointment at the gym. Before I could even get out the door, my neck spasmed and seized. When I told my trainer I was hurting, she asked–as I knew she would–what had happened. Had I lifted too much weight? Gone tubing or kayaking or something?
Nope. I was just sitting, reading a Facebook status on my phone.
Sometimes this forty-something thing is not-so-awesome.
Of course there are (I wish I didn’t have to write some version of this sentence again every few months) much greater griefs in the world. My neck is nothing compared to the heaviness in my heart for the devastating losses in Charleston. I ache with the senselessness of it all.
In my small corner of the universe, the challenges eventually sorted themselves out. I have a new laptop. The rain cleared, so we got some great photos downtown. And a visit to the chiropractor relieved some of my somatic pain. In keeping with this theme of the unexpected, I decided to share three unexpected sartorial resources I’ve discovered in my bridal preparations: skirt extenders, design-your-own shoes, and print-to-order fabrics. All three are resources I think other women–not just brides–might find useful and fun.
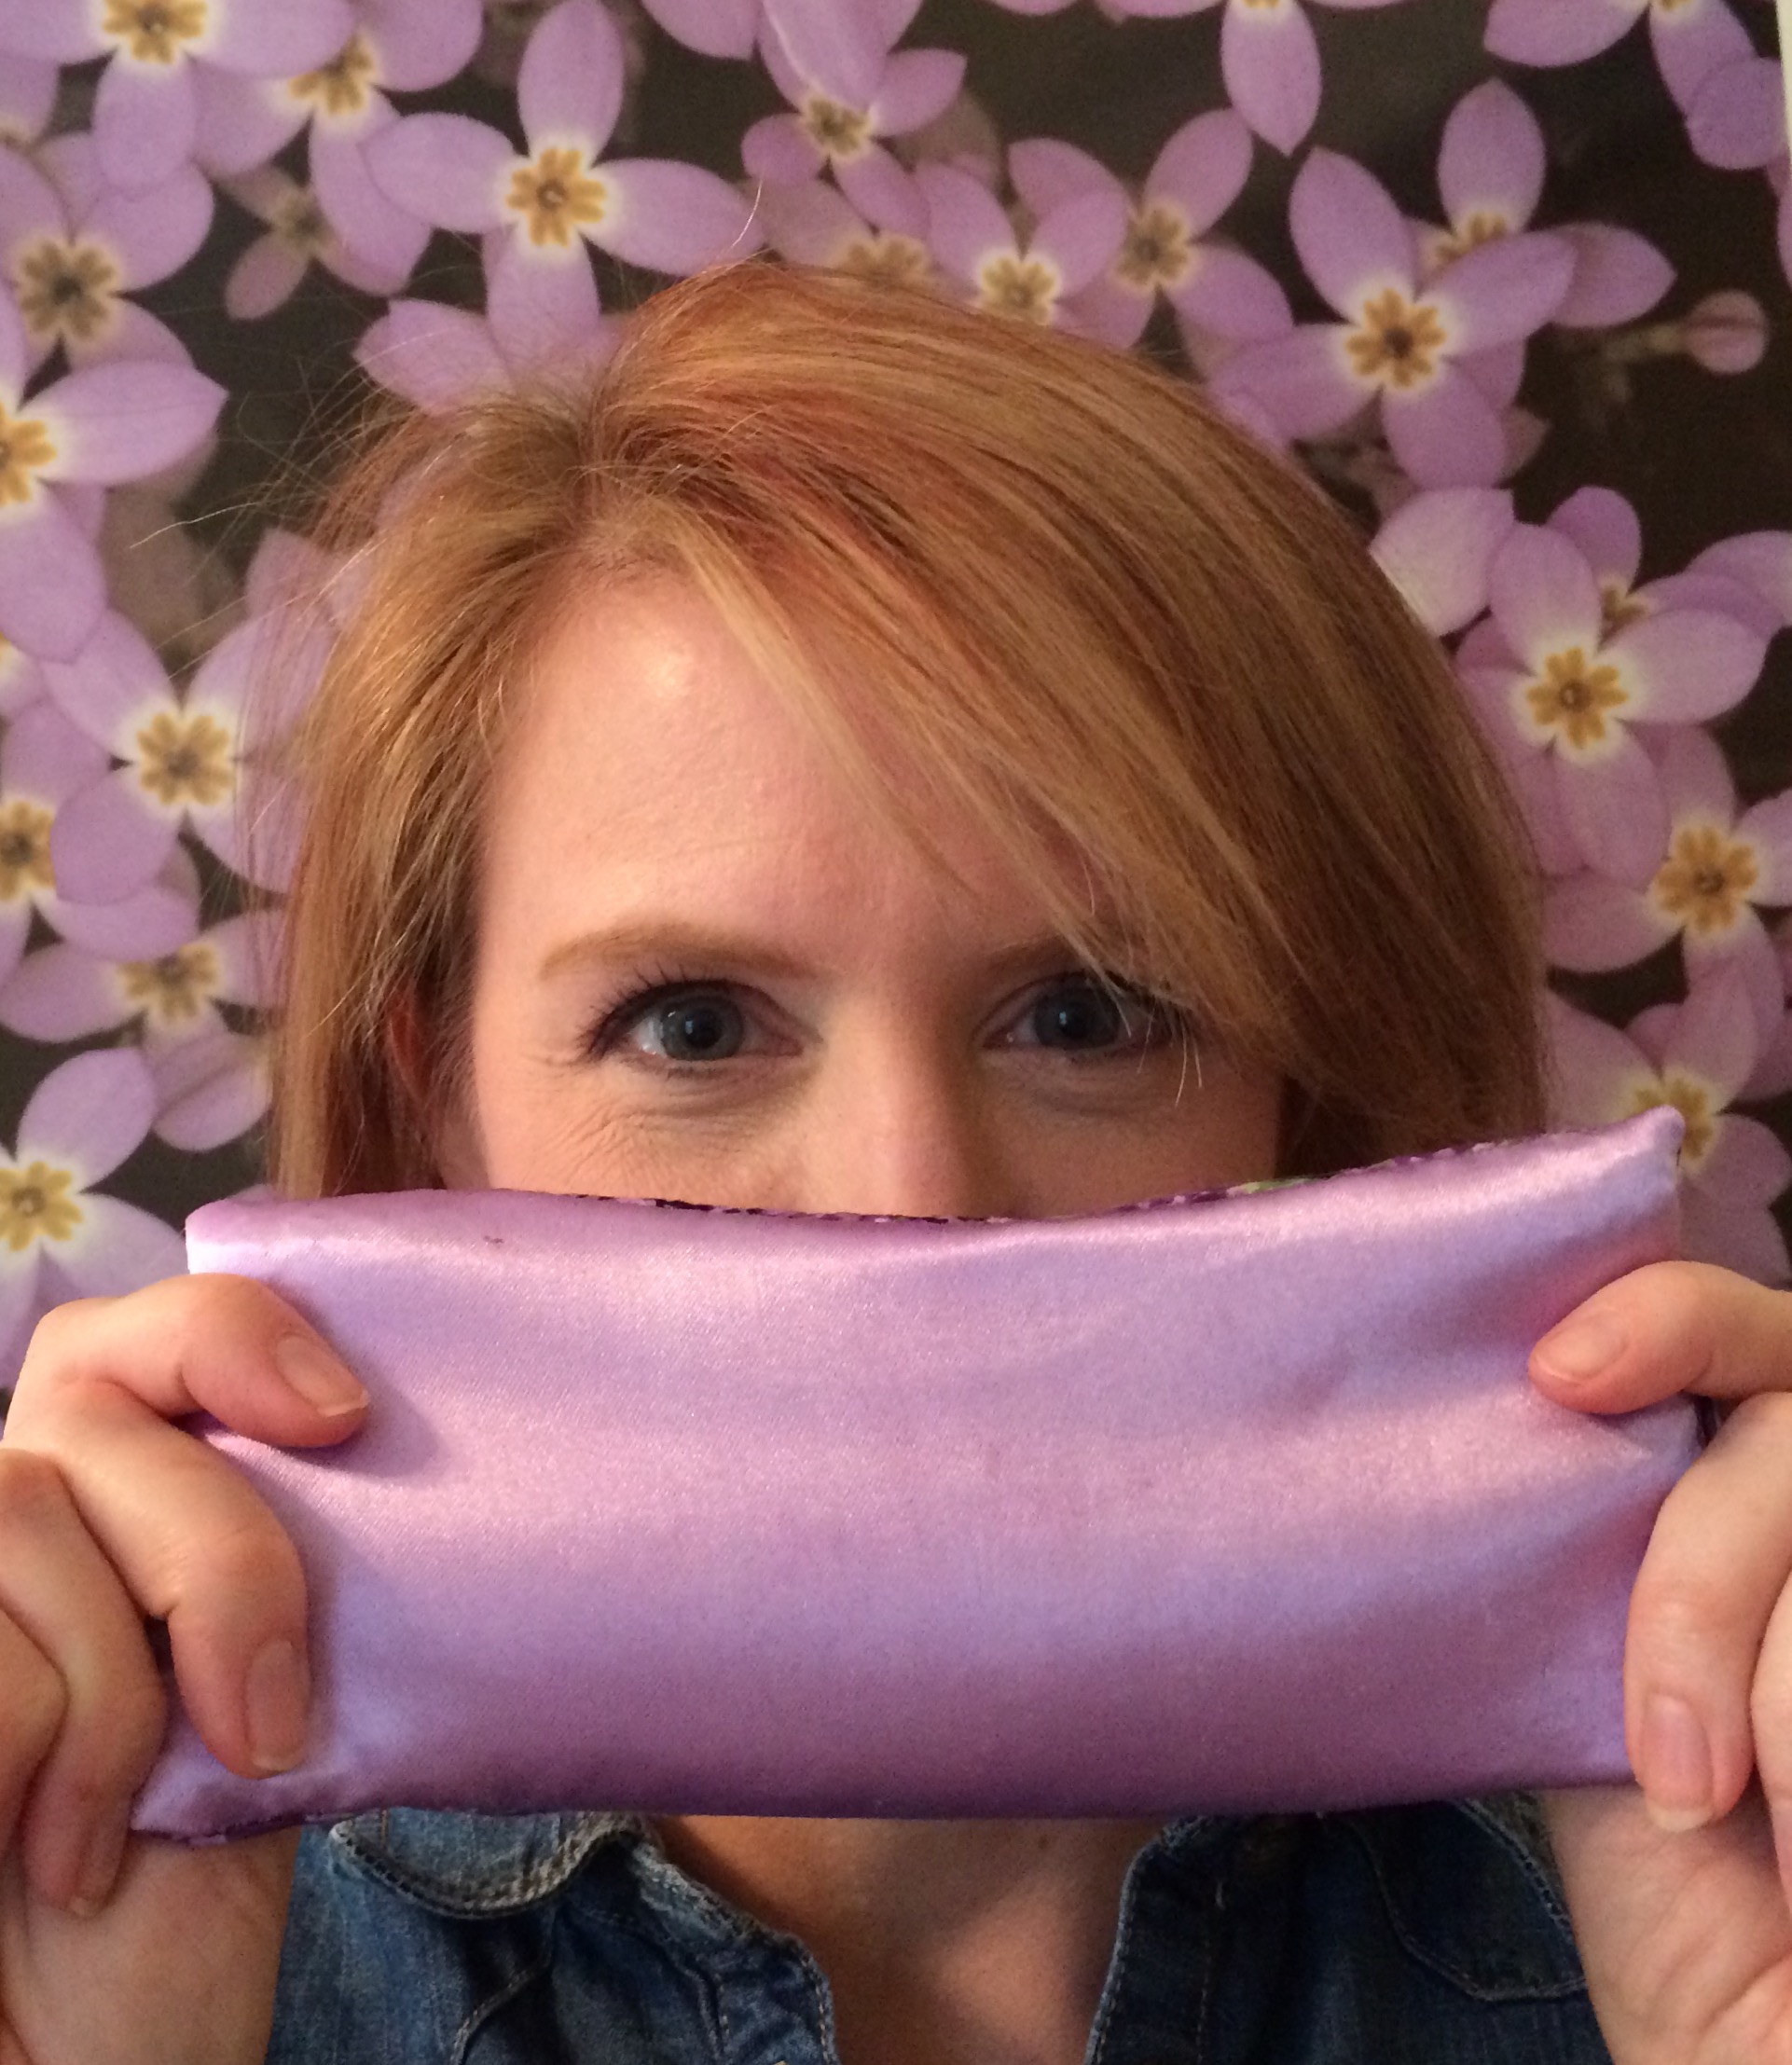
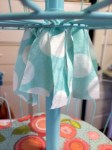
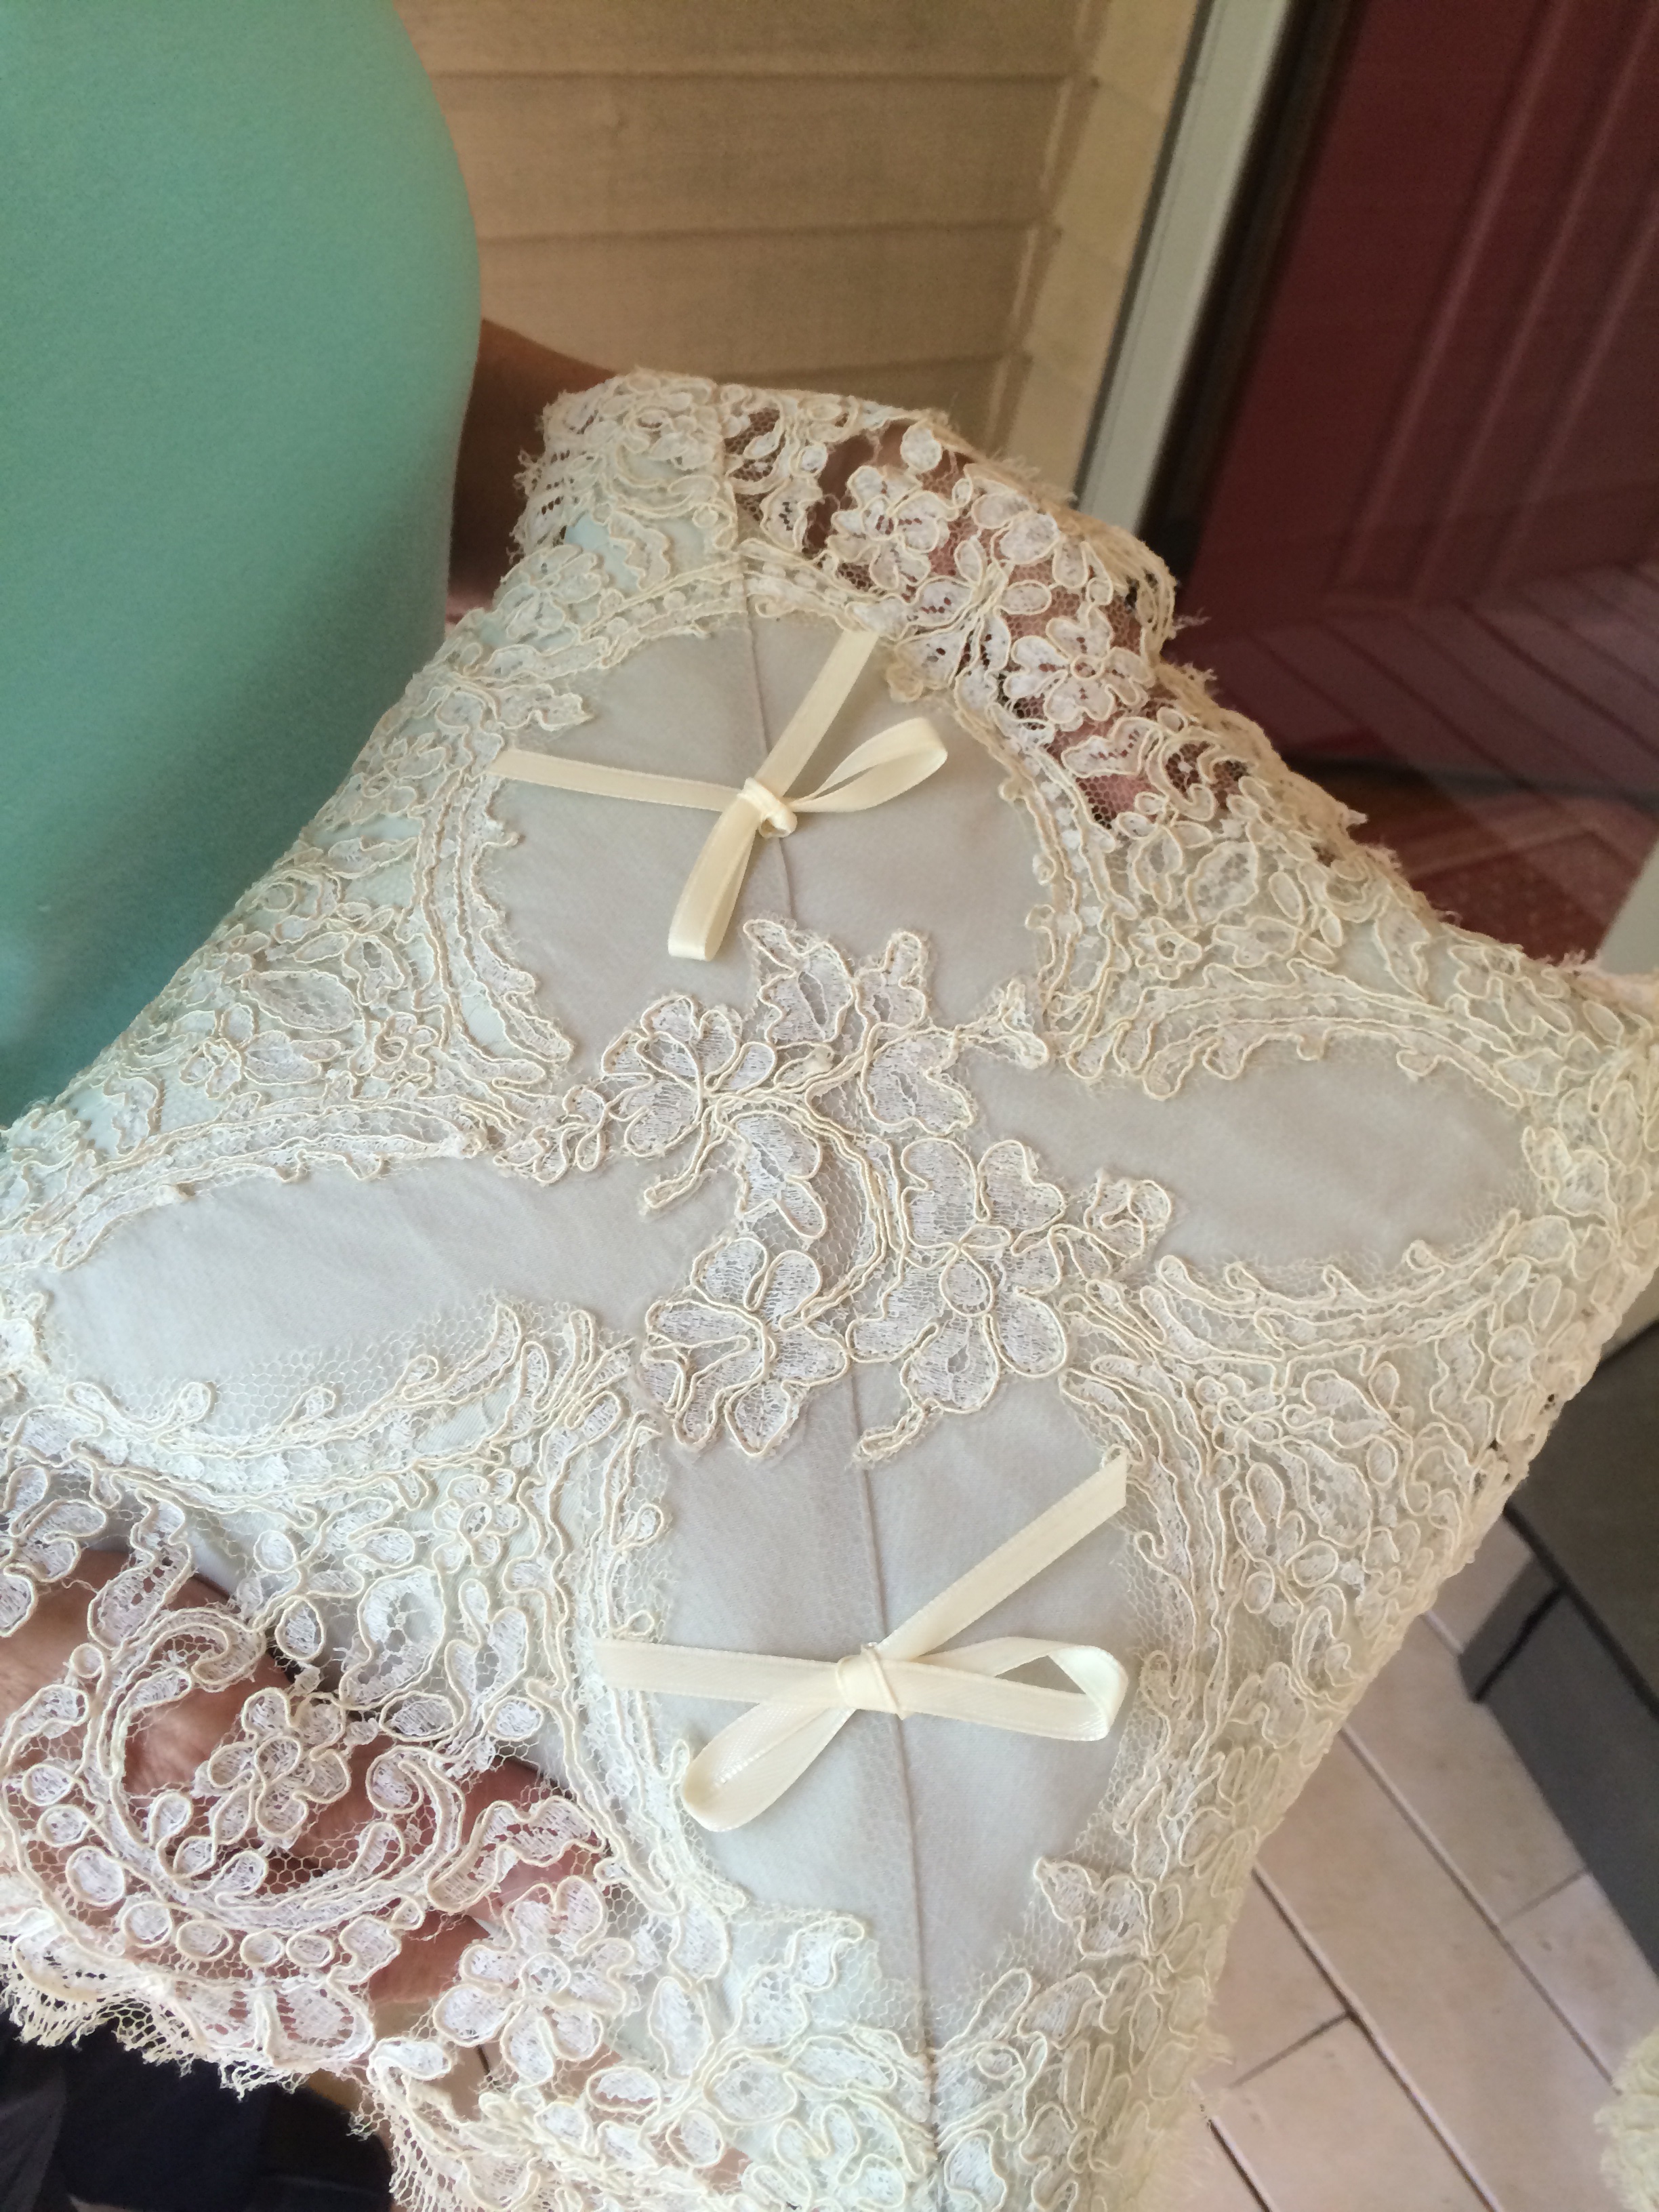
1. Tall gals, you might especially like to know about the existence of the “skirt extender.”
These garments have a decidedly unglamorous name, but I use it here because (a) that’s what everyone seems to call them, so (b) that’s the term you’ll need to search on Etsy to find them quickly. Though I’m just guessing that their inspiration comes from those creative types among us (ahem) who do things like wear vintage slips or petticoats so the beautiful lace purposefully peeks out from under the skirt, in this age of tunics masquerading as dresses, I was thrilled to find another pretty solution to the too-short-but-otherwise-perfect dress.
A little backstory: I’d ordered a dress to wear at our rehearsal dinner, and I was excited when it arrived: the lace was soft, the cut was cute. Mind you, I like short skirts, within reason. But when I tried this dress on, it was laughably short. The average woman’s height is 5’3″, so I exceed the standard by a few inches, and those few inches can make the difference between flirty and flashing everyone. At first I’d thought I’d have to return the dress, but then it occurred to me I could wear a vintage slip underneath. In this case, the extra lace looks like part of the dress.
It was while searching Etsy for an appropriate vintage slip that I discovered I’m not the only one frustrated by the micro-length of so many dresses these days. Multiple Etsy vendors sell what they call “skirt extenders.” Some are half-slips, some full-slips, but they all have the same purpose: to extend your skirt (and thus its wearability) by several inches. Skirt extenders come in lace, organza, tulle, and knit jersey; you can find them in black, white, ivory, turquoise, burgundy, brown, and other colors; they’re made straight and a-line, ruffly and full. In most cases, you can choose from several sizes as well as several lengths. A few vendors use vintage lace or materials, so you get a one-of-kind product, while others use all-new materials.
While I can’t vouch for any specific vendor at this point, some of the most promising ones with the greatest variety of inventory and highest ratings are as follows: A Slip Shop, Vezanie, Three Bird Nest, Alcora, or MyOlyGirl.
2. Gals with hard to fit feet–or women who want high style without a sky-high heel–try the made to order shoes at Shoes of Prey.
First, please don’t ask me why they call it “Shoes of Prey”—I have no idea. But as a woman with narrow feet who can never find fun, stylish shoes either in stores OR at most online outlets (even Zappos usually fails me), I don’t care what they named the company. Custom shoes, designed by me from a wide array of quality materials, and made to fit my narrow feet? I’m sold.
I wasn’t much of a shoe girl growing up, likely because shoe-shopping meant going to one of the only two shoe shops in our entire town that carried anything in “narrow.” The shoes were expensive, the choices limited. Shopping for shoes has remained an exercise in disappointment, and forget having fun with cheap, trendy finds–they never fit right, so even if I take the plunge, I don’t end up wearing them more than a handful of times.
I can’t remember where I first read about Shoes of Prey; at the time, they were purely an online enterprise (based out of Australia). Now they have several brick-and-mortar outlets, but you don’t need to live near one to design or order shoes. They make flats, sandals, booties, pumps…you name it. You can choose from leather in something like 20 colors and three finishes; satin; vegan material; silk; snakeskin. You can choose your heel style and height, which for me was huge in terms of wedding shoes—why everyone who designs special occasion shoes thinks I want to totter around in 4 or 5 inch heels for an equal number of hours, I can’t imagine. There are colors and patterns galore–solids of every shade, animal prints, florals, lace overlays. The hardest part of the process is choosing!
The price tag, for the service, is reasonable: the baseline is $129, with different styles and materials potentially adding to the cost (shipping is free). Good running and hiking shoes cost about the same, plus it’s helpful to think in terms of price-per-wear. If I pay $40 for shoes I only wear once because they hurt my feet, that’s far more expensive than paying $200 for work shoes I wear a minimum of 20 times in the first year alone. The company offers a full refund/remake for unworn shoes, up to 365 days. I’m anxiously awaiting the arrival of my wedding shoes, and I have a feeling I’ll be ordering from them again.
3. For the gal who likes to create with fabric, or a mom who wants to preserve her child’s artwork: fabric you design yourself.
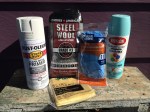
We’re making pillows for the venue benches, and I wanted to incorporate map fabric into some of the designs, in honor of Steve’s GIS work. I wasn’t crazy about the map fabric we found (it’s color scheme was a bit off). So I decided to try having a piece of a vintage, out-of-copyright map printed on fabric to incorporate into a pillow or two.
The two primary companies that do this kind of work, based on my research, are Fabric on Demand and Spoonflower. Spoonflower also has a whole host of fabrics designed by other people you can purchase, so it’s a good place to browse for unique fabrics (they also print wallpaper and gift wrap) even if you aren’t inclined to design something yourself. Both of the websites are quick and easy to use; you just have to pay attention to the resolution of the image you send. Both offer color calibration tools, if you need a specific hue. You have a choice of different fabrics, and on fabricondemand.com, the prices range from $28 a yard for fleece to $40 a yard for cotton-silk voile.
If I were a parent, I’d be all over this. You could collect several of your child’s drawings or paintings, have them printed on fabric, and make a quilt for your child to keep or give to a grandparent as a gift. And though I’ve never been a wallpaper aficionado, I’m intrigued at the possibilities of creating something of my own design.
Sometimes, letting go and welcoming the unexpected results in surprisingly good discoveries. Wishing you a week filled with peace and unexpected wonders.

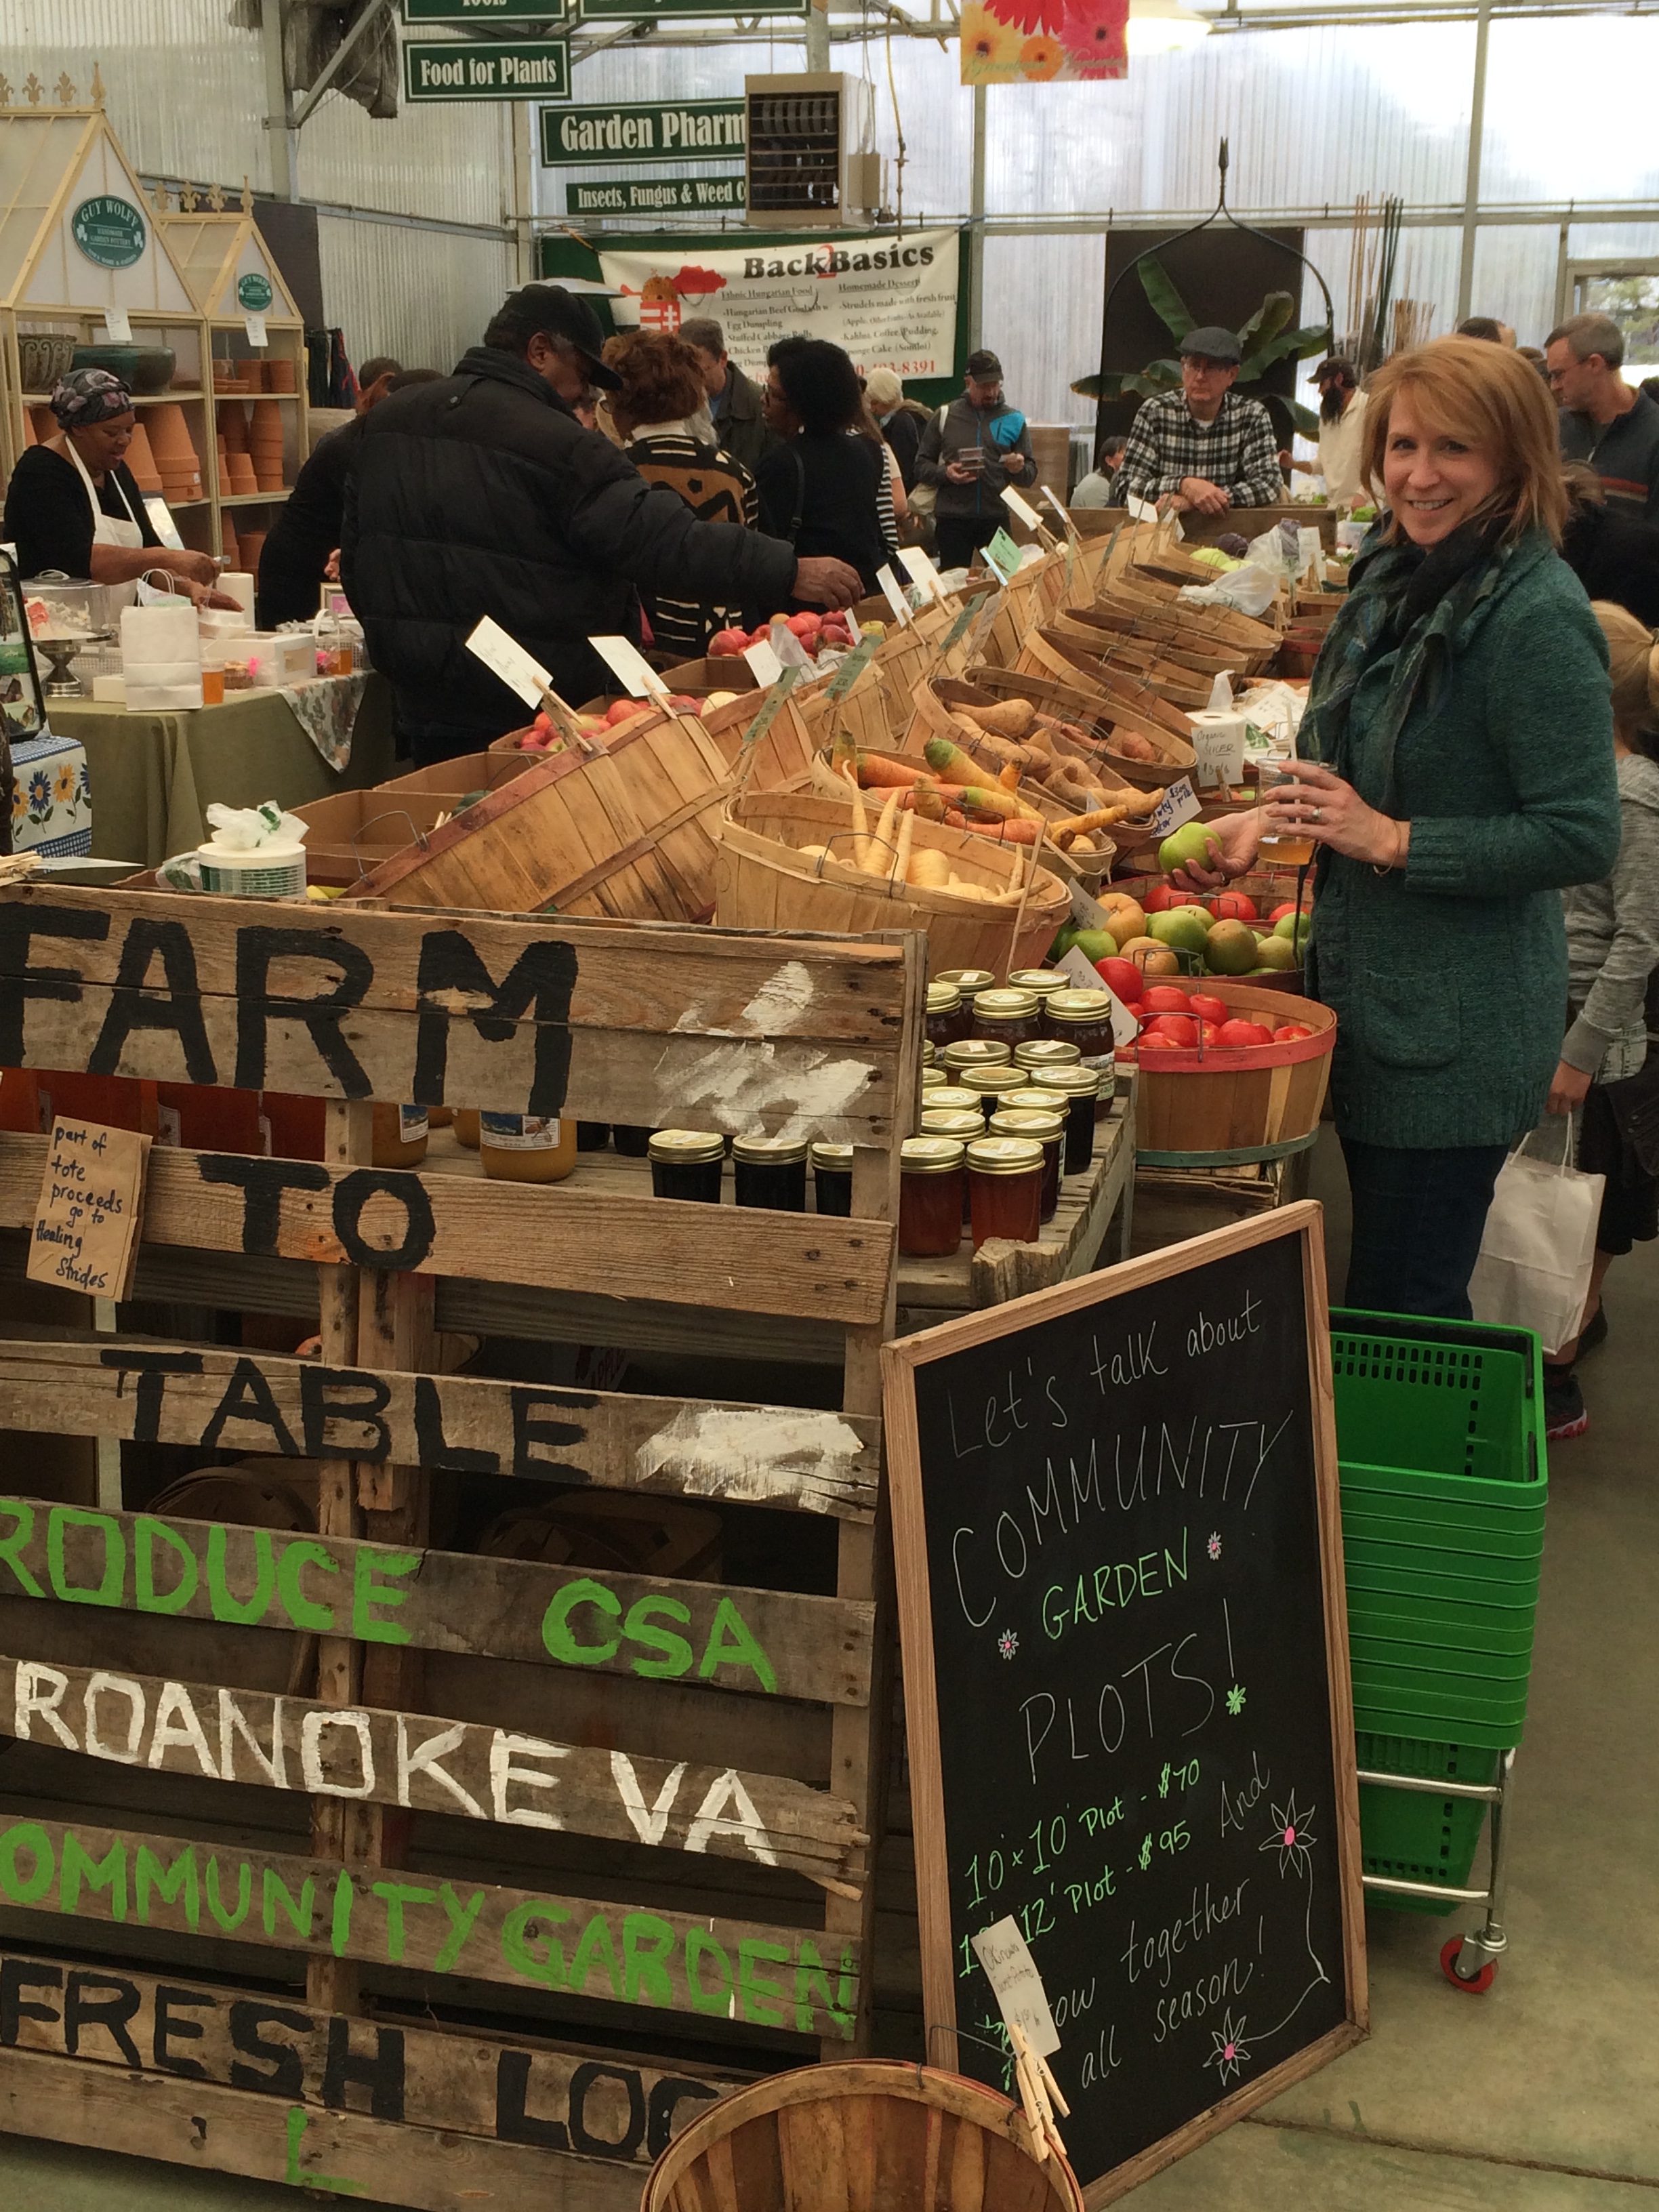 On hubby Steve’s and my first foray to what has since become our favorite local farm-to-table market, I was charmed by a set of three metal flower pots nested on a small oval tray. Enameled in graduated shades of dark-to-light, creating an ombré effect, the three pots’ Caribbean-sea hues recalled our wedding colors and provided a welcome contrast to the grim gray January sky. They were the also the perfect size for a small kitchen herb garden.
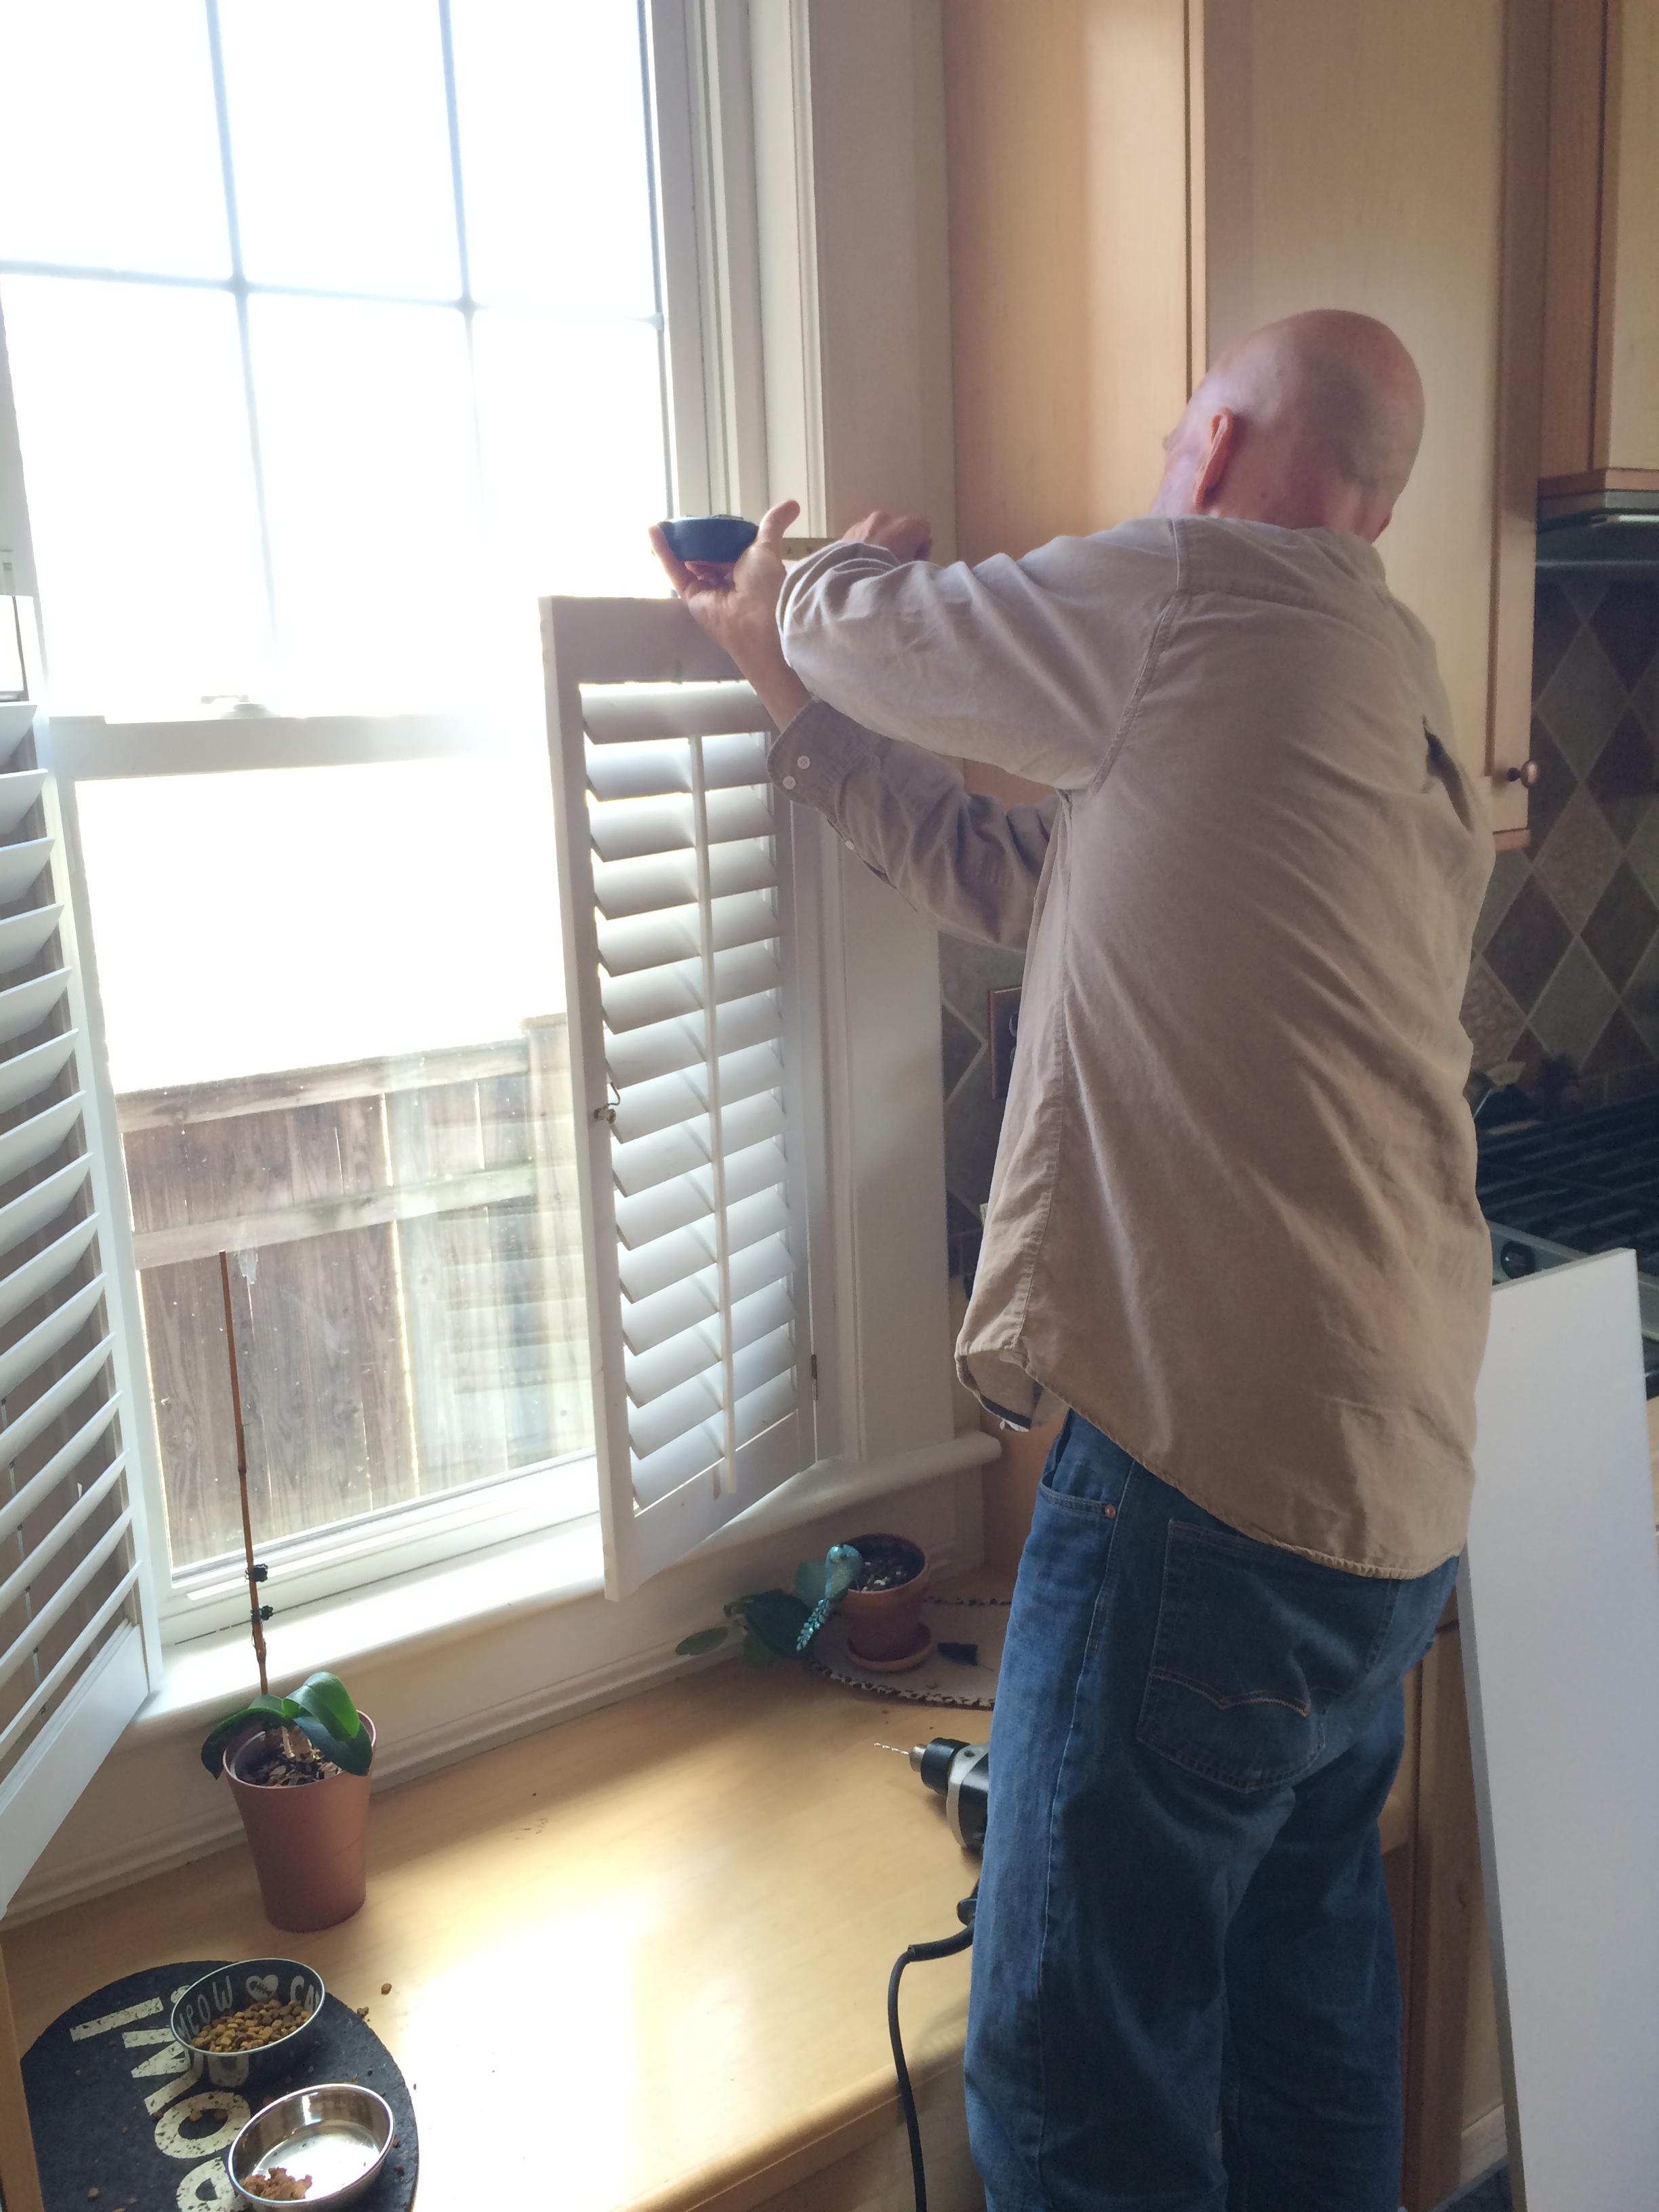 We stashed the empty pots on the radiator by the front door as we unloaded groceries, where they stayed, as did the plants on the kitchen counter, for several weeks. One day I asked Steve to bring a bag of potting soil from the garage to the back porch for easy access, and he obliged. It rested there, undisturbed. Another week passed. I brought the pots into the kitchen. By then I’d realized we didn’t have a good spot for plants where they wouldn’t be knocked over or gnawed on by cats. We measured a window for a shelf and brackets, but another few weeks went by before we could get to the hardware store.
 Finally, one afternoon during spring break, Steve gathered a level, screws, and drill and cut the shelf, while I re-potted the aloe and the herbs and rescued a rapidly wilting poinsettia and some ailing succulents. I painted the shelf ends, he installed it, and we arranged the plants on the shelf with an enormous sense of satisfaction.
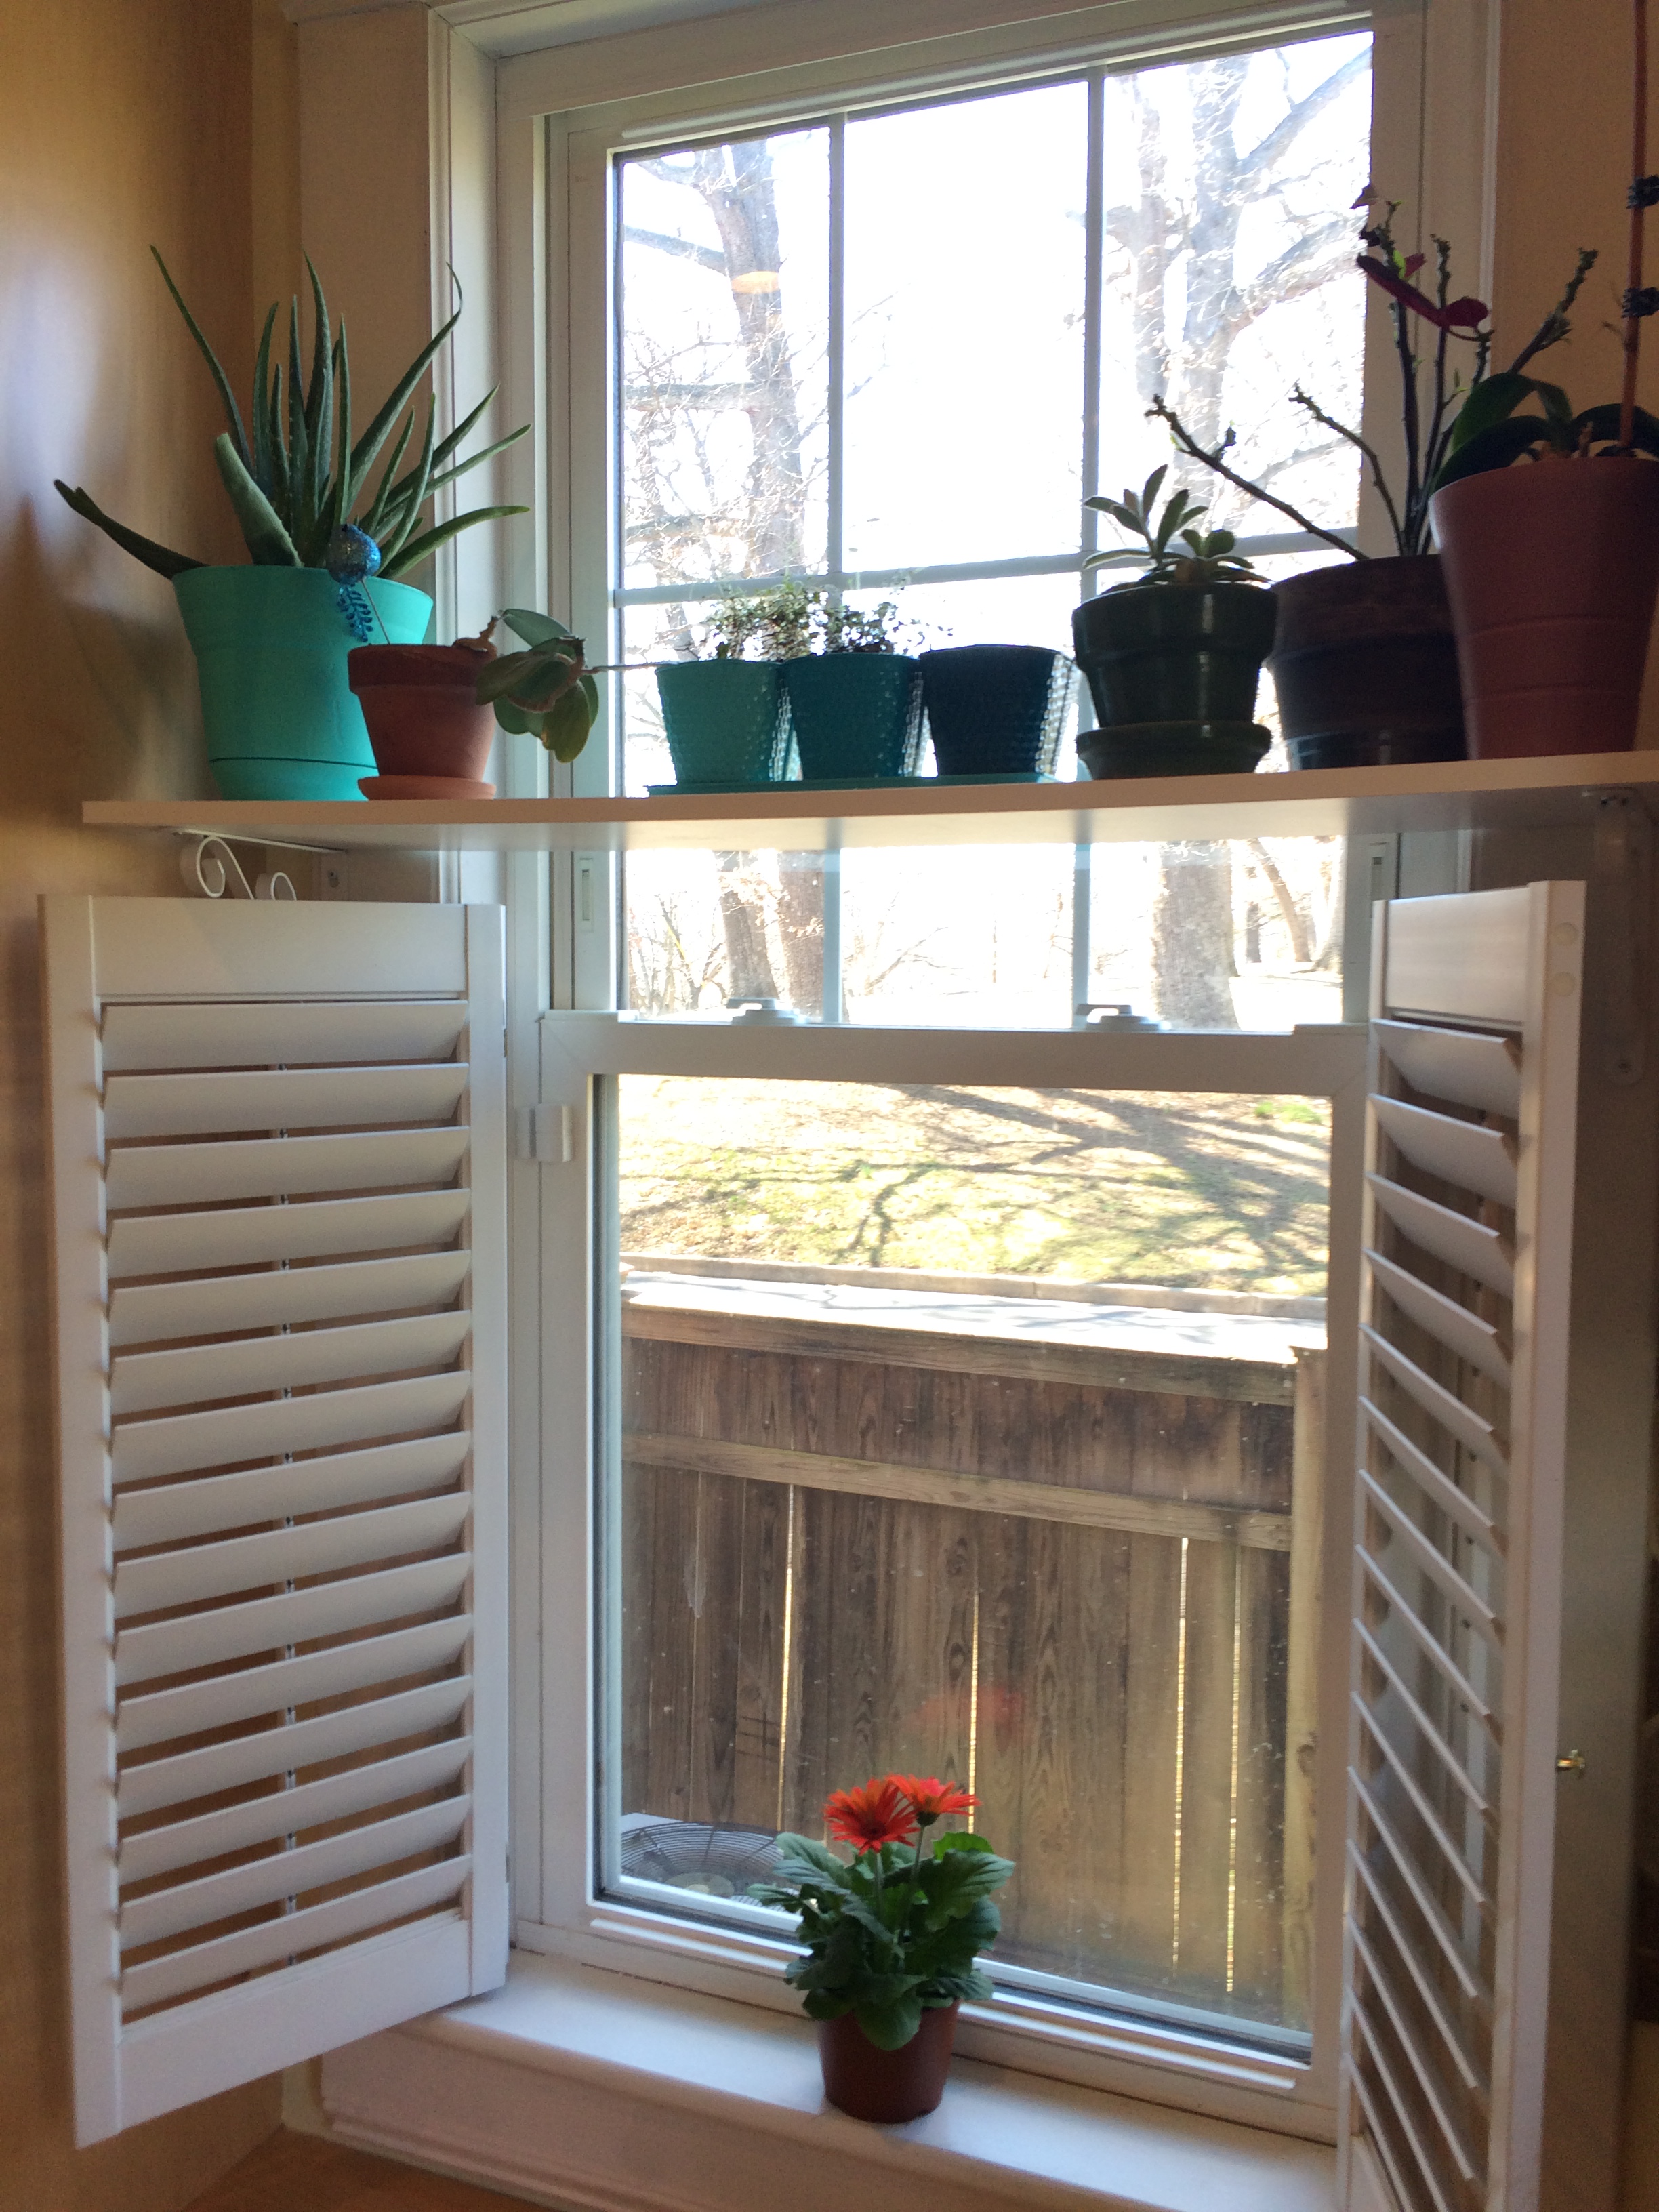 Seven weeks of combined efforts, sandwiched betwixt and amongst the myriad other demands and desires of our rich (and wonderful!) lives—for one simple shelf and a few sprouts. We’re in it, in more ways than one, for the long haul.
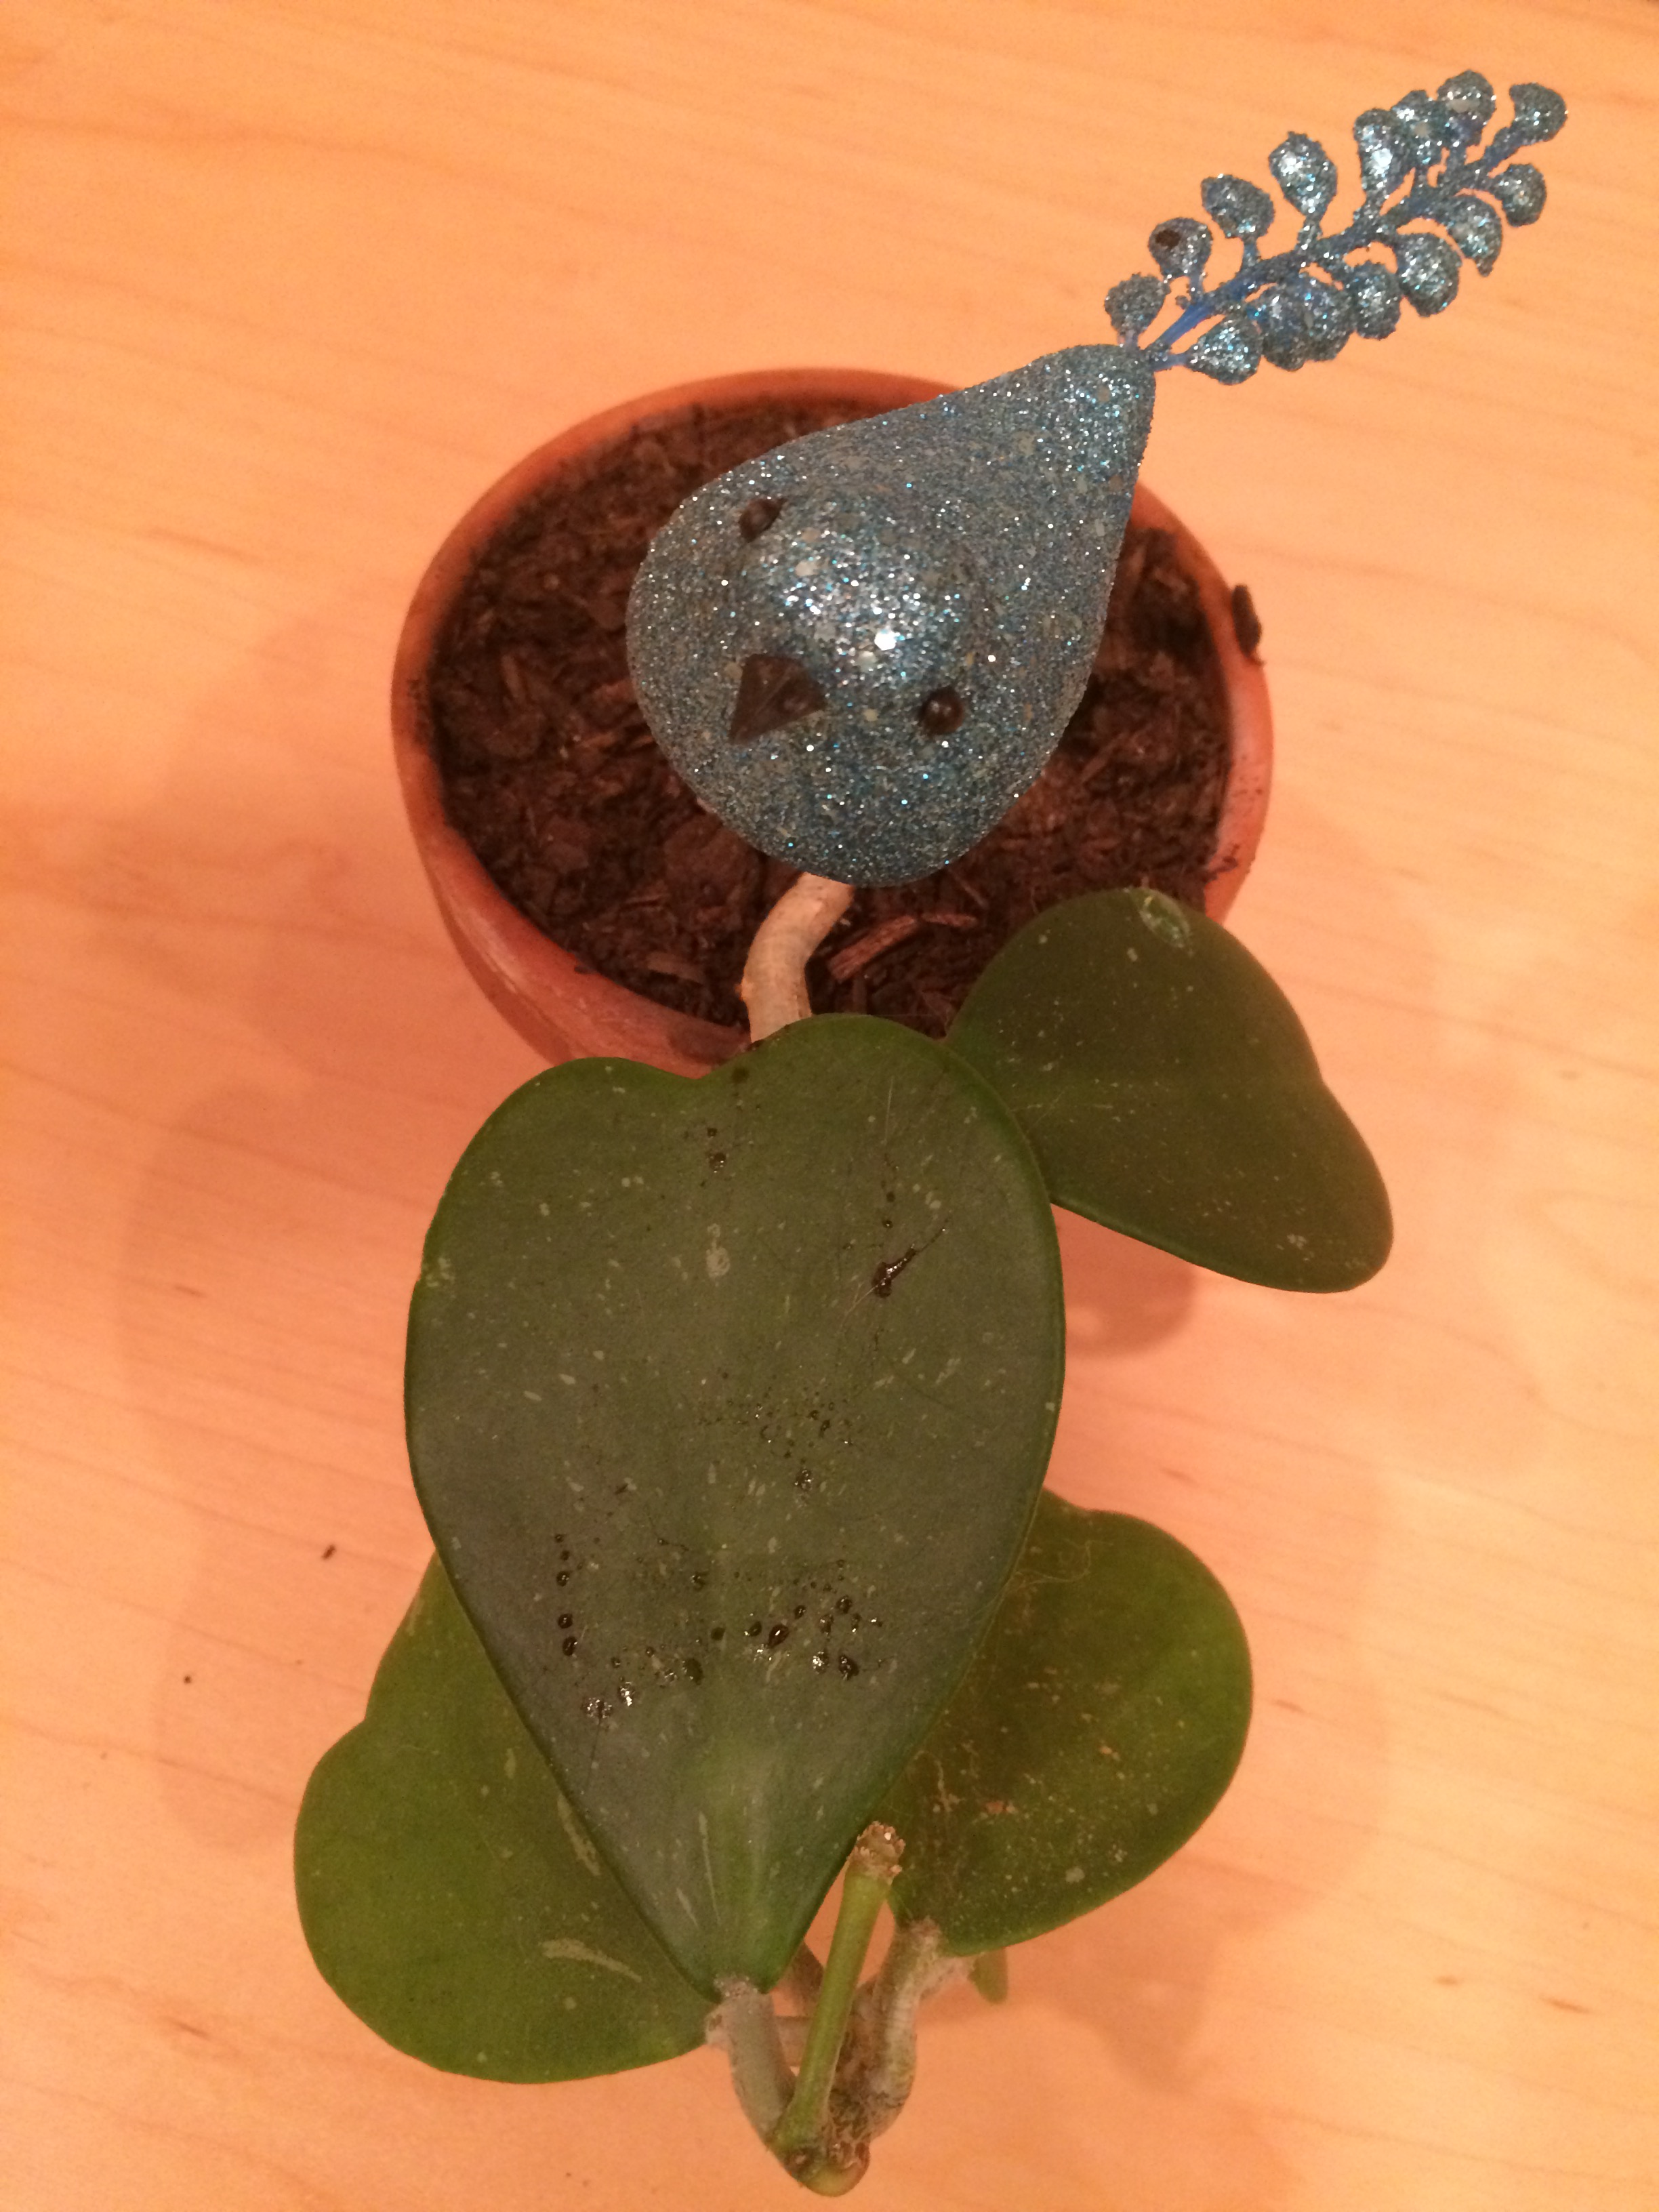
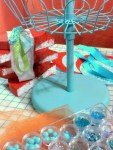
 I paint turquoise polka dots on the poinsettia pot’s nondescript brown rim. Add a little sparkle with a glittery bluebird pick in the pot of the heart-shaped cactus known as the “Sweetheart Cactus,” the “Lucky Heart.”